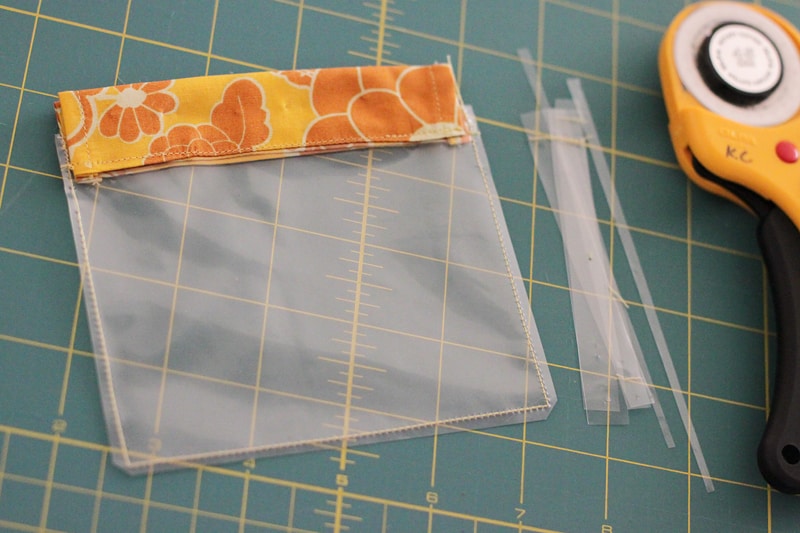
Are you looking for a good way to store and organise your small quilting templates? How about a flex frame pouch?
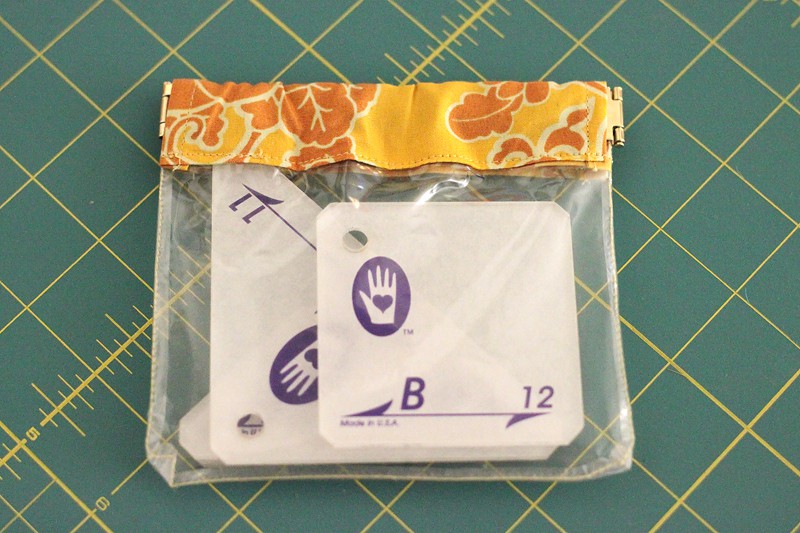
This pouch is made of both transparent vinyl and fabric. I chose vinyl because I wanted to be able to see at a glance which templates were in what pouch. I found my vinyl in the ‘back to school supplies’ area of a variety store (sold as vinyl for covering school books).
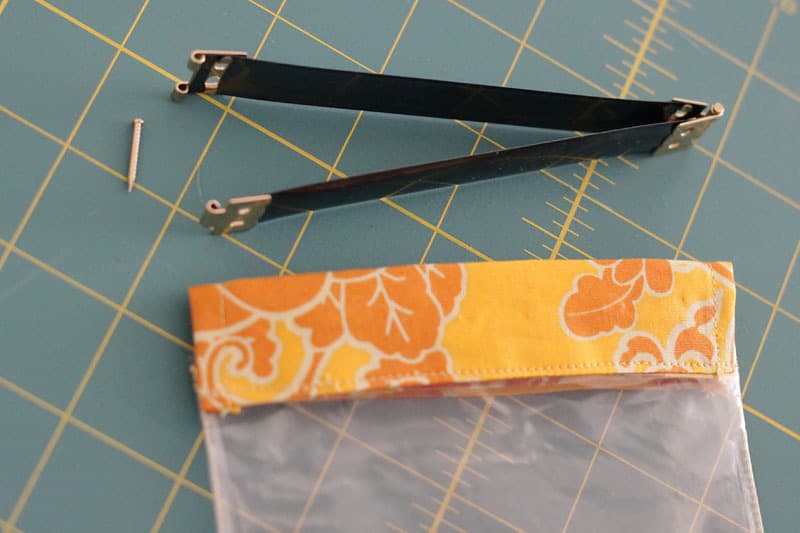
Flex frames (sometimes called squeeze frames) are those nifty little contraptions that you see in sunglass pouches. You press the sides together and the pouch pops open. No fiddling around with zippers required.
Flex frames can come in a variety of sizes, but the one I’m using here is 4.75″ (12cm) long and 5/8″ (1.5cm) wide. (Several people have contacted me to ask where these can be found – here are some on Amazon.*)
I have put together a little PDF download that shows how to adapt these instructions to any size flex frame. Be sure to scroll to the end to get your copy.
So here’s what you need to make a 4.5″ x 4″ pouch (perfect for the smaller templates):
- 1 x 4.75″ flex frame
- 2 x pieces of fabric 5.75″ x 2.5″
- 2 x pieces of clear vinyl 5.75″ x 4″ (or x 5″ or more, depending on how long you want your pouch to be)
- 1 x hera marker (to score sewing marks on the vinyl. You could use a butter knife in a pinch.)

A quick note on sewing with vinyl: I didn’t have any troubles sewing this entire pouch with my standard sewing foot. However, a quick test is probably a wise move. Try sewing both fabric to vinyl and vinyl to vinyl with some scraps to make sure your machine is okay with it. If not, you might like to try your walking foot, or a scrap of matt (not shiny) masking tape on the bottom of your sewing foot to provide grip.
Plug in your iron and let’s get started!
Press a quarter inch fold towards the wrong side of your fabric pieces, along the short sides.
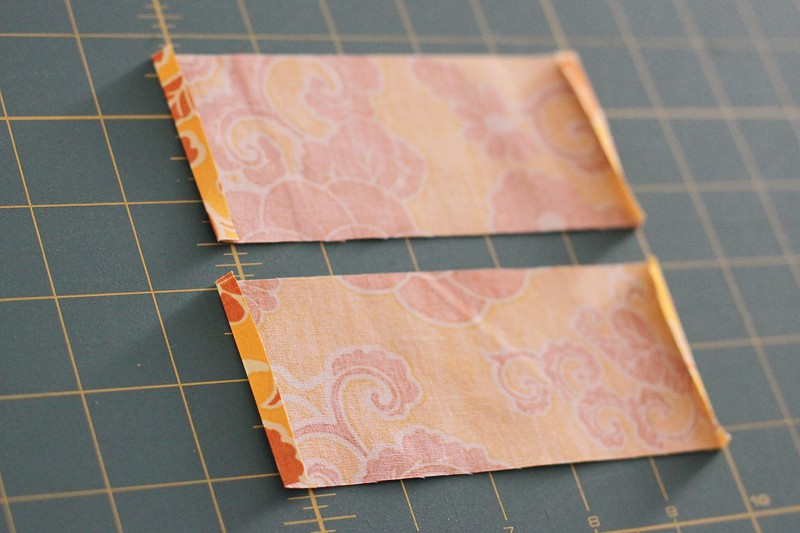
Now, press a quarter inch fold towards the wrong side of your fabric, along the long sides.
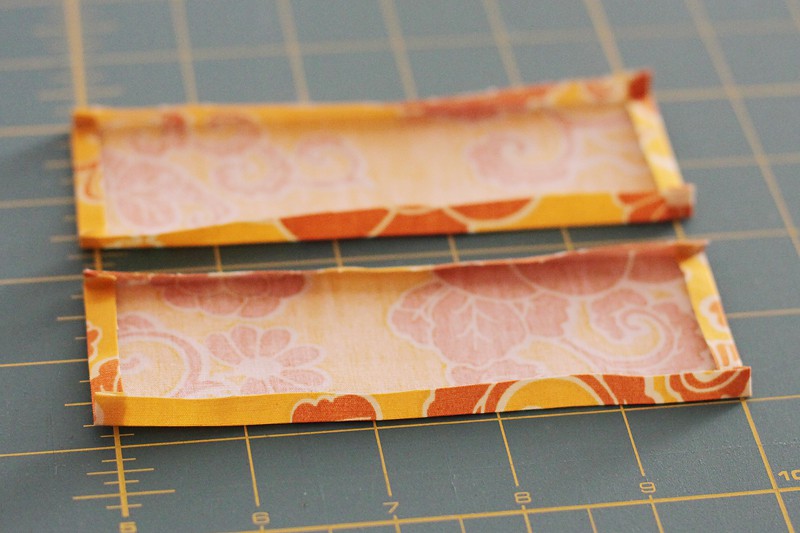
And finally, roll the short sides over another quarter inch and press again. Pin them in place:
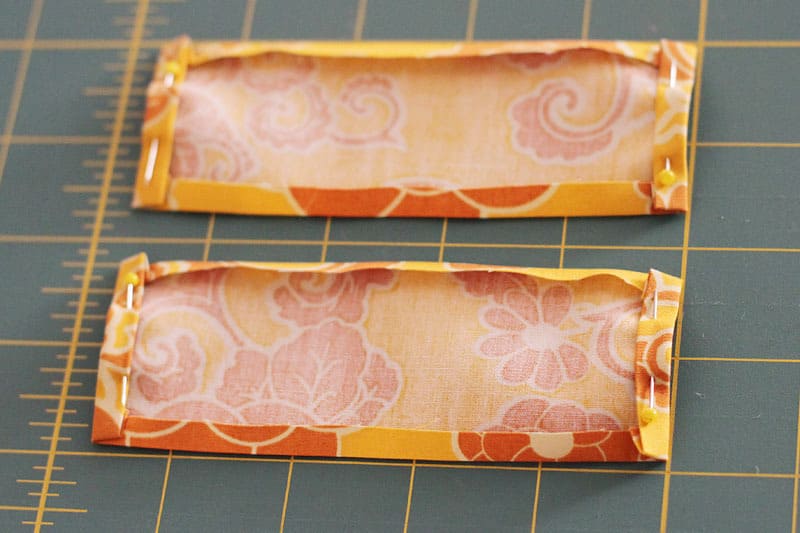
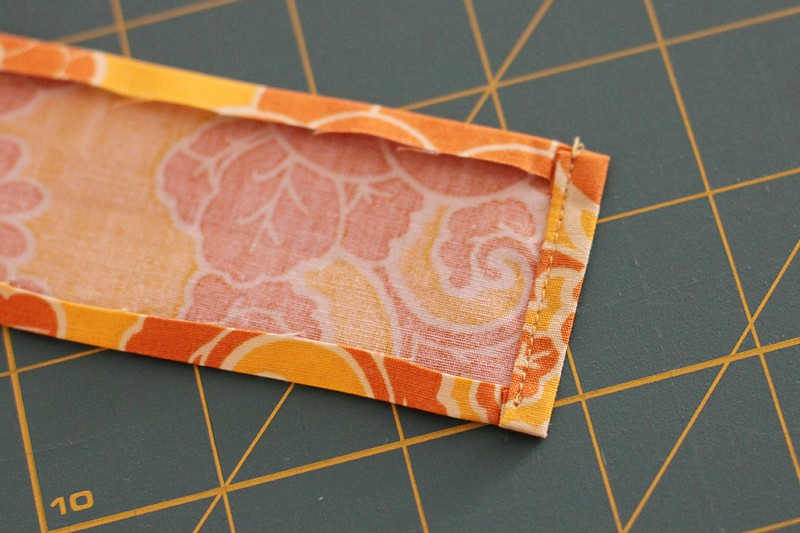
Then sew the short sides down on each fabric piece with a seam close to the fold. Do a quick stay stitch or back stitch at the start and end of each seam to ensure it’s secure.
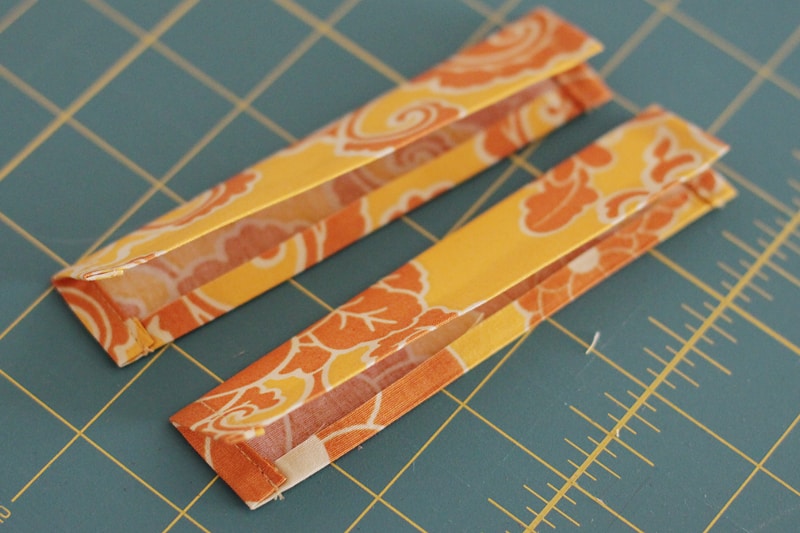
Fold both fabric pieces in half along their length, wrong sides together, matching up the folded edges. A quick press will keep it in place.
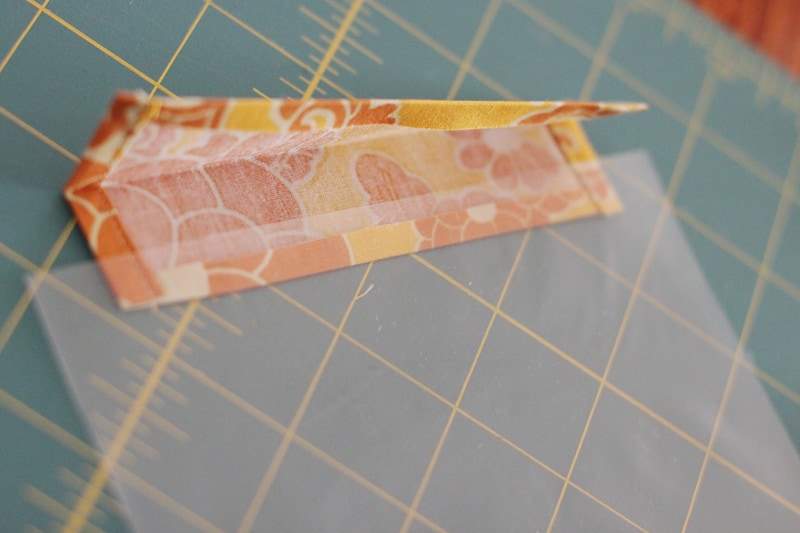
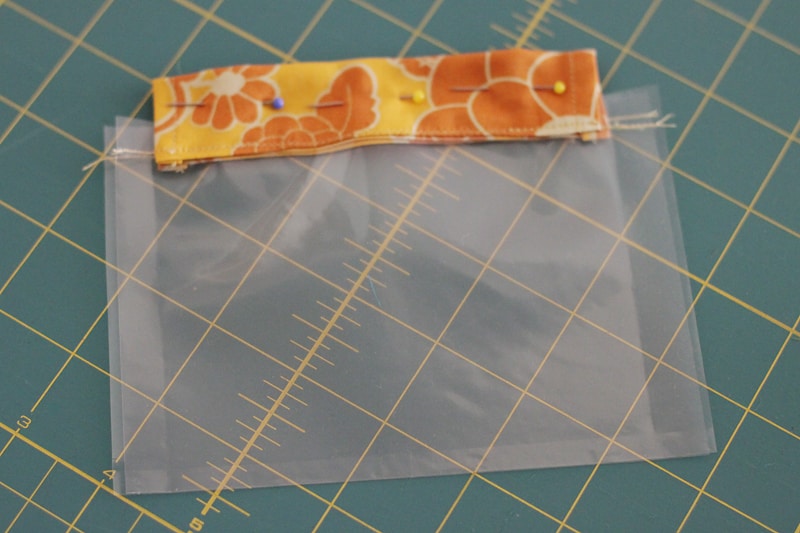
Now, time to incorporate the vinyl. Take each piece and place the 5.75″ side inside one of the folded fabric pieces as you see below. Note that I have been generous with my overlap there – the plastic goes beyond the fold by 1/8″ at least – so that there is no chance of it not being caught in the seam.
As the vinyl piece is longer than the fabric, just centre it so that you have even amounts of vinyl hanging out over each edge. No need to measure, just eyeball it. Most of the excess will be cut away later.
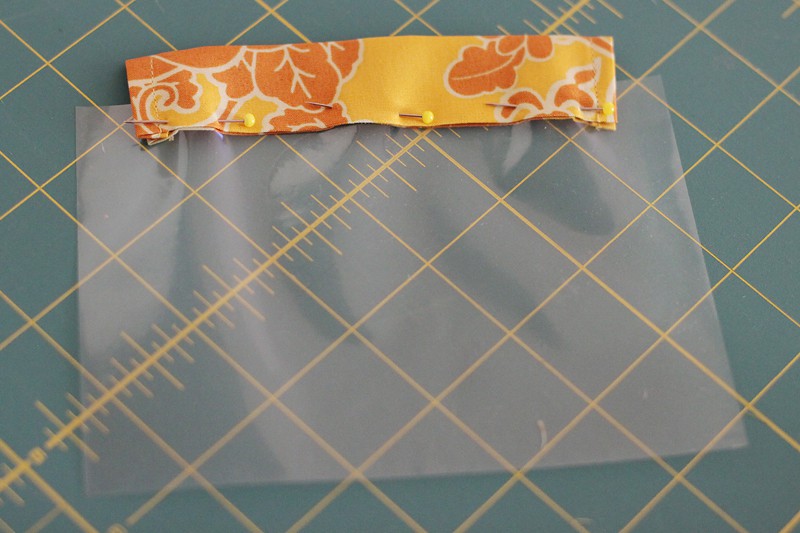
Once your vinyl is centred, sandwich it between the fabric folds and then pin in place only along the seam. Vinyl will hold pin holes forever. You don’t want to pin it anywhere that can be seen. Only pin in the seams or in areas that will later be cut away.
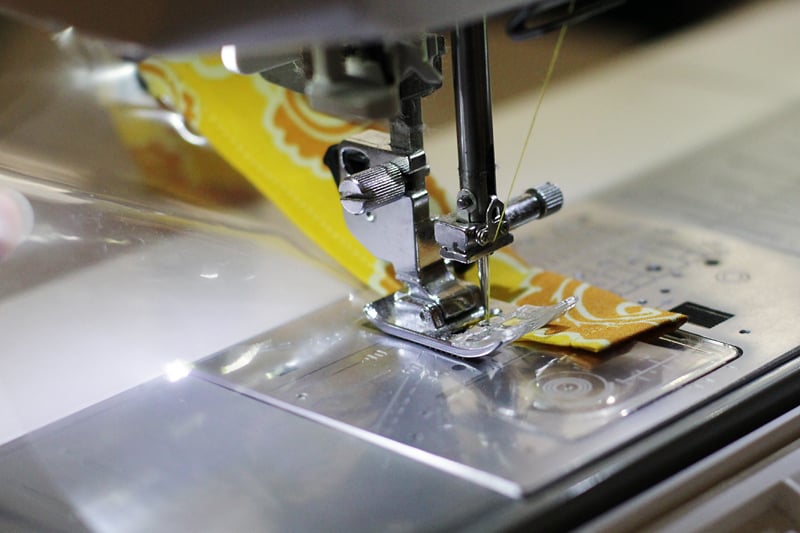
Sew the seam straight across the vinyl and onto the fabric for both pieces. Stop along the way and do a quick stay stitch or back stitch at the very edges of the fabric to secure the seam.

Match up your two fabric/vinyl pieces, one on top of the other.

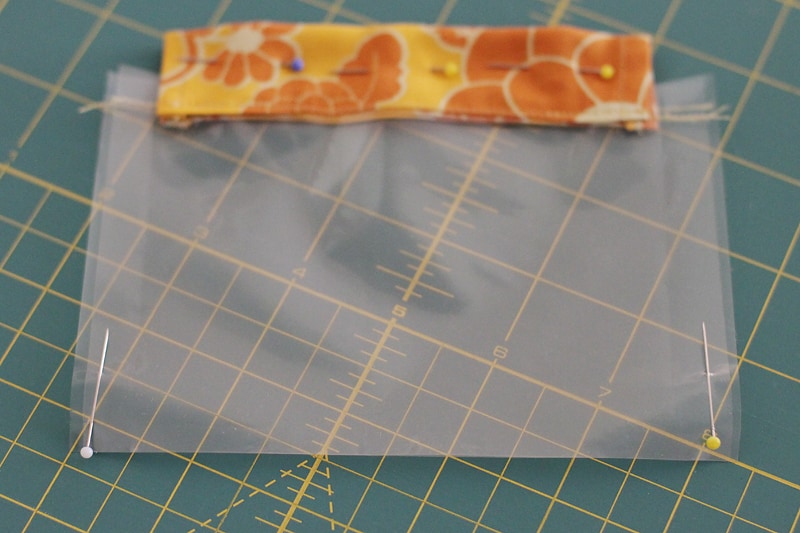
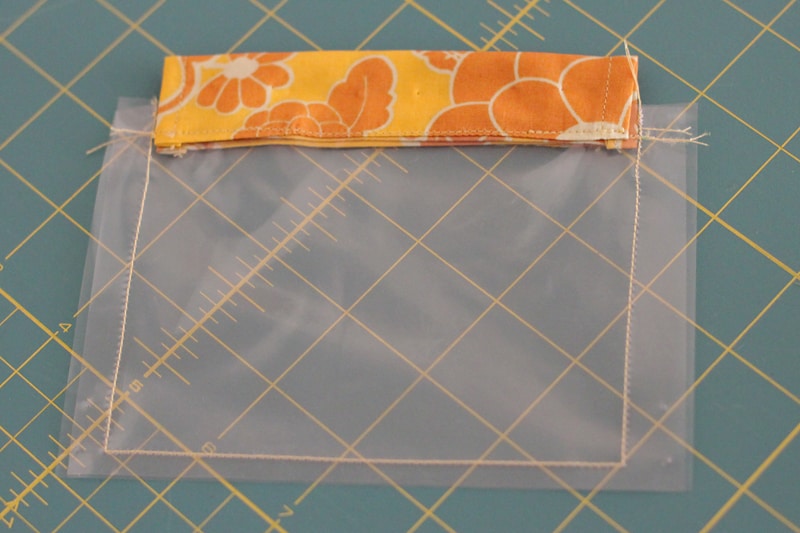
Pin the fabric portions together. Now use your hera marker to score sewing guide lines on the vinyl. You want to sew down each side of the vinyl WITHOUT sewing on the fabric. So line up your ruler just outside the fabric and draw a line straight down to the bottom. Along the bottom edge, just go with a line a quarter inch from the edge. You can see my score lines below:
Before sewing these lines I pinned the vinyl together OUTSIDE the seam (so there were no permanent holes made in my pouch):
Sew down your seams and remove all your pins.
Use your rotary cutter to trim away some of the plastic in the seams and to clip your corners. Make sure you don’t accidentally cut your seam threads.
And now carefully turn the whole thing inside out:
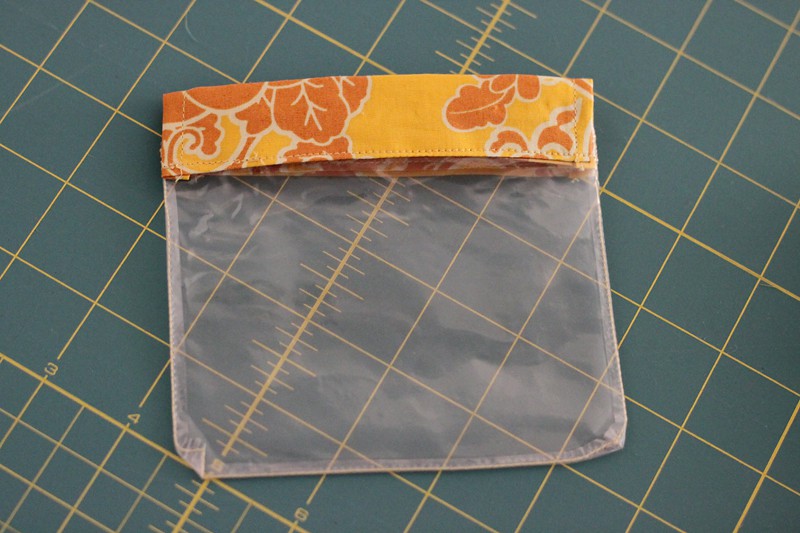
If you want to give it a light press, go right ahead. But remember to put your iron on a lower setting and use a pressing cloth on the vinyl. Do NOT iron the vinyl directly (big ole mess)!
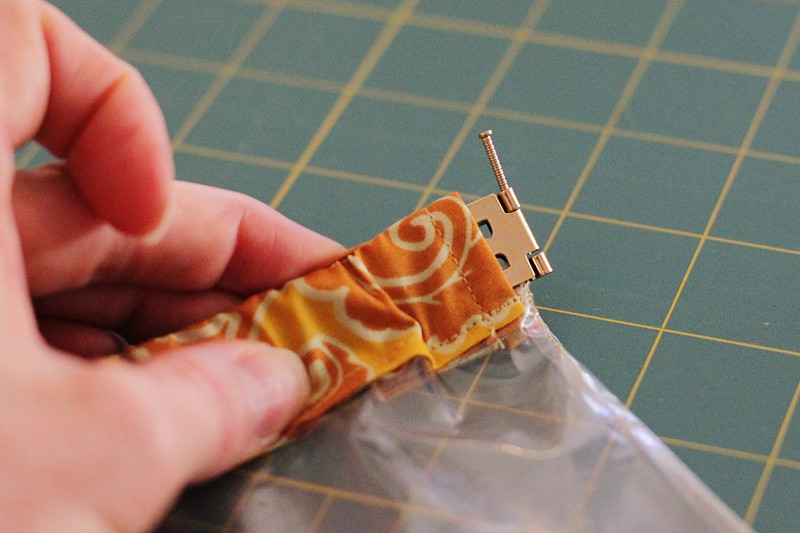
Now it’s time to put the flex frame into the fabric sleeves. Some flex frames come with one side already fastened. If yours has come in two pieces (with two small fasteners), secure one of your ends now.
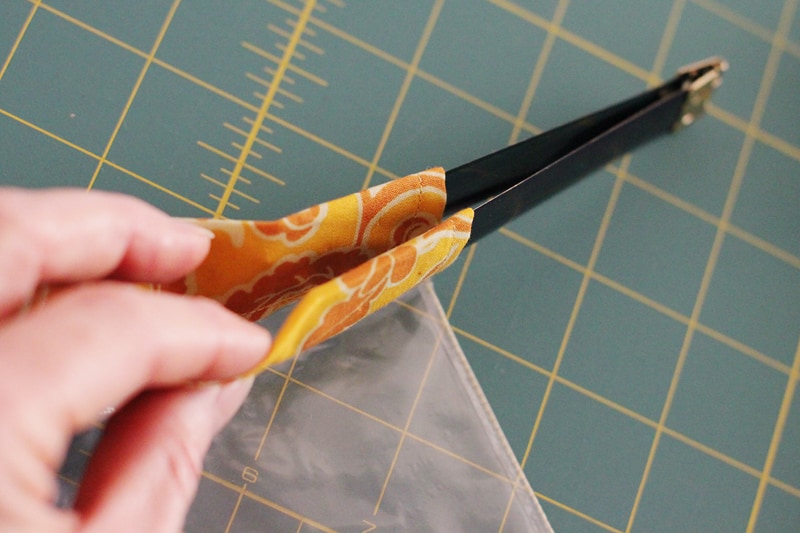
Then wiggle both ends into the sleeves and continue until they both poke out the other end. Take your time and go slowly. The edges of the flex frame can be sharp and you don’t want to rip a hole in your sleeves.
Once you’ve made it to the other side, scrunch up/gather your sleeve a bit to expose the open end of your flex frame and then use the pin to close it.
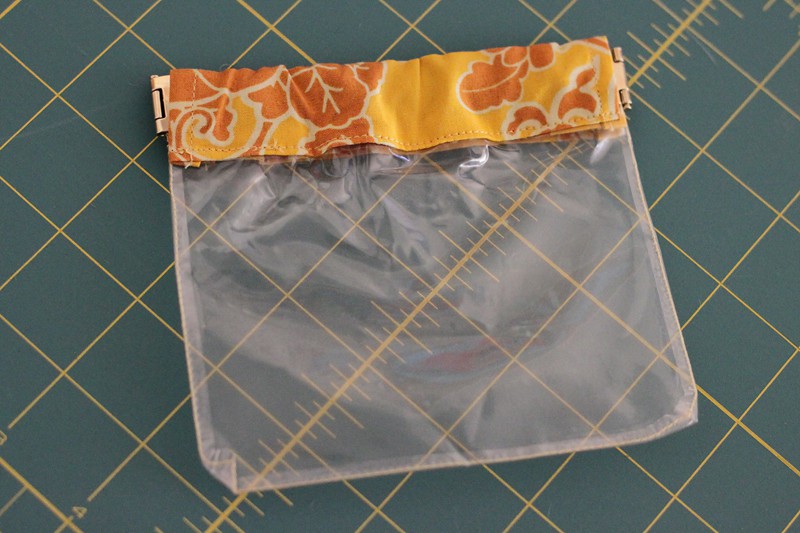
And there you have it, a cute flex frame pouch to store your templates.
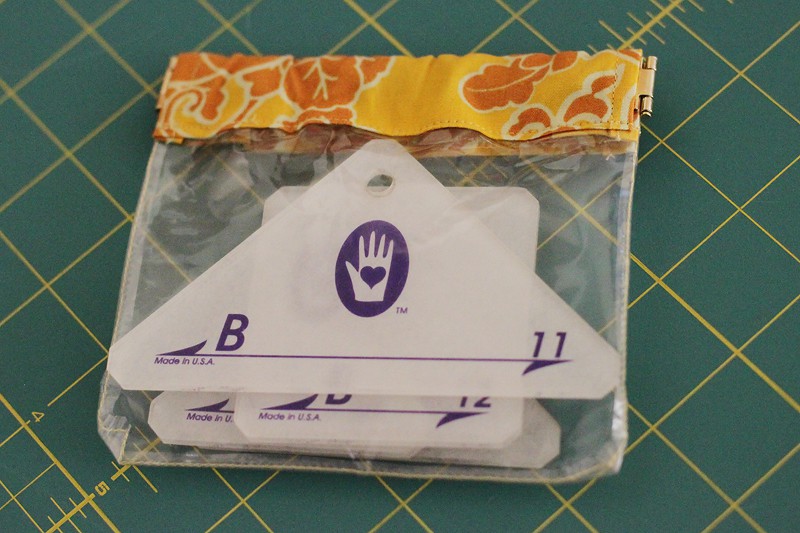
Squeeeeze the sides to pop the flex frame open:

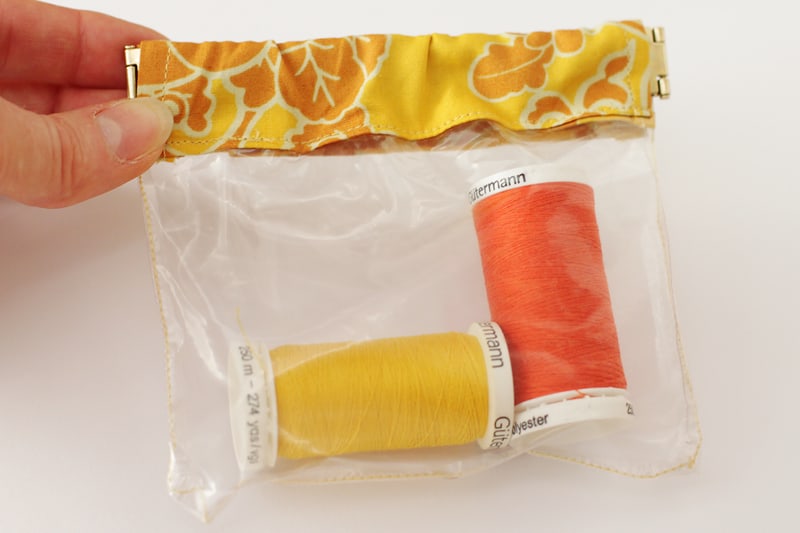
Then fill’er up!
I can think of a ton of things I could store in lots of these flex frame pouches, in varying sizes:
As this post is starting to get a little on the long side so I’ll finish. If you’d like to make these pouches in other sizes I have a handy little reference sheet. It tells you how to adapt the pattern pieces to suit your size.
You can get the Flex Frame Pouch Download here:
So there you have it, an easy way to keep your templates stored but still visually accessible. I hope some of you can make use of it.
Happy sewing to you all.
*This is an affiliate link, which means if you purchase through the link I receive a small, but much appreciated, commission. This is at no cost to you – Amazon pays for it (thanks, Amazon :). These commissions help keep Bonjour Quilts’ website expenses paid, so thank you!

I cannot find the PDF to download . Please advise.
I knew of a lady years ago before the flex frame became popular that used her hubby’s old metal measuring tapes to make purses etc. Where can you buy the new ones from?
couldn’t fine out where to download the pdf
I couldn’t find the pdf download either. Where should we look?
This is such a cute idea – thanks for the tutorial – I posted my first one today, and have more underway :)
My cousin uses old carpenter measuring tapes for the flex frame
How would you use measuring tapes? How would the ends be joined!
It is a metal tape measure. They aren’t joined. You cut the tape and round the ends. Then you wrap them with white surgical tape, perhaps like the kind that is used with gauze. This helps the tape to not cut through the fabric. They are then encased in fabric. It is similar to the directions above, except the tape doesn’t have a nail to connect the pieces together. Still, the tape kind of snaps open in order to get to the contents, usually using fabric tabs. Look up “Snap Happy Bags” on your search engine. There are tutorials on YouTube and patterns on blogs. See what you can find! Metal measuring tapes are probably very cheap, and you can make many bags out of one coil. There’s no need to purchase a brand name, either. Cheap ones do the very same thing. I hope I’ve helped. When we are using terms from different countries, it might not be easy to understand. I’m from the U.S.A.
Thank you for your very informative response…greatly appreciated.
I would think you could use mini blind slats also. I have never seen the flex frames.
Je découvre “un peu tard” votre blog. Merci pour ce tuto c’est une super idée !
Amitiés de France
Coucou Nina! Merci et bienvenue…c’est jamais trop tard!
Great little pouches! Do you have any recommendations for where to get flex frames from?
Hi Jodie! You can find them at large craft stores usually (we have one here in Australia called Spotlight – sorry, not sure what the UK equivalent is). Or you can google purse making supplies or flex frames and your country together. There are also some folks selling them on etsy (I searched for flex frame) and then there is also this website where I bought mine ahkwokbuckles.com. Hope that helps!
Love this idea. Looks like a great job for Wonderclips. Thank you for the tute.
Great Idea!! … Great Tutorial … Thank You:) …xoxo
I love these! I am definitely going to make them. Need to get my hands on some of those flex frames! Thanks for the great tutorial!
I used to have one when I was 4 or 5 to keep my money in.
I love the see-through ones!
(and I know I’ve got a frame, somewhere)
Thanks!!
Ah, so that’s how they fit together!! Thank you for enlightening me! Now to make one of my own……